Wednesday, July 28, 2010

Falling back in love...with my shower curtain


Sometimes I just have to change things up around the house so I can enjoy looking at them. One such spot is in our guest bathroom. I fell out of love with the shower curtain in there a long time ago, but a new one never made it on the list of Things We Need.

So last week I took matters into my own two capable sewing hands...


 And I've got a tutorial to go with it!
(Because, really, why make something like this if I can't pass it on?) 

You'll need...
A large piece of fabric measuring 82" wide x 76" long (I used Kona muslin because it comes in extra wide yardage and I love it so much)
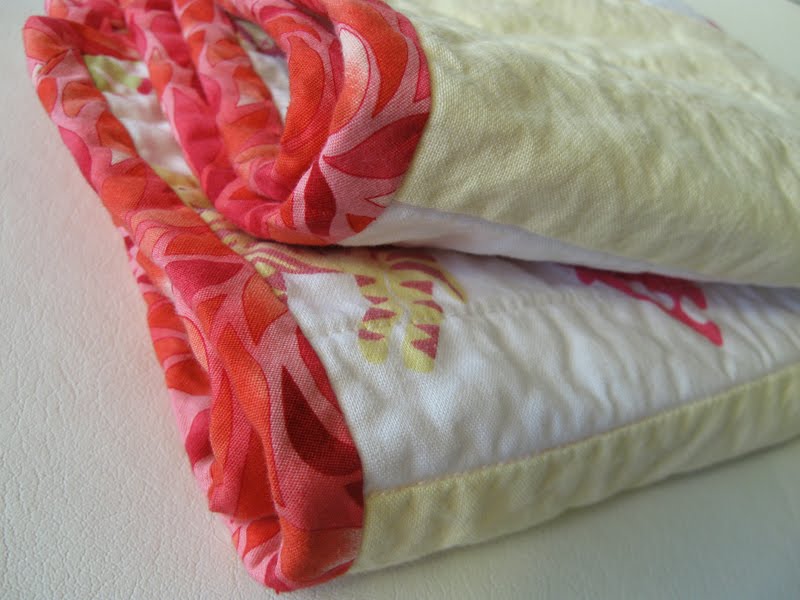
About 1/3 yard each of 3 different prints (I used the same fabric from this project - Charisma by Gail Kessler)
Rotary cutter & mat
Clear quilting ruler

If you're wondering how you cut a huge 82x76 piece of fabric, here's how: you fold it in half and then half again (below) and use your rotary cutter. It will most likely not be perfect and this it totally fine. We're going for beautiful handmade goodness, not perfection.
{Oh, and this shower curtain will be wider than standard because I wanted more "ripples" across the top}


Trim your selvages and cut your prints into 9" strips running the full yardage width.
Cut those into various width pieces.
Arrange them in a random/alternating order.
You'll need to create a long strip measuring 82" after they're all sewn together.


 Sew your pieces together using a 1/4" seam allowance and press your seam allowances to one side.


 Now cut your long strip down the middle, dividing it into one 6" piece  and one 3" piece.


 Press the long edges 1/4" to the wrong side.

Now you'll get ready to pin those long strips to the large piece of fabric.
Lay your ruler perpendicular to the bottom hem and mark 15" and 17 1/2" from the bottom. Do this all the way across the bottom, marking about every 10-12 inches. These will be your guides for placing your strips.

Your 15" and 17 1/2" marks...

Line up the top edge of your lower strip with the 15" marks. Line up the bottom edge of upper strip with the 17 1/2" marks. Does that make sense? 

To add visual interest, flip one strip horizontally.
To the untrained eye, it will look like you pieced together two completely different strips...see how that works?


Pin them a lot as they want to shift when you sew them.


Edge stitch the strips on top and bottom edges of each.


Now you'll do the side seams. Fold and press the sides over 1".


Tuck your raw edge into the fold and press.


Edge stitch the side seams and do the same press/tuck/stitch for the bottom hem.

Next, press your top edge over 3" all the way across.

Like before, tuck your raw edge into the fold and press.
Stitch all the way across the top edge, creating a 1 1/2" pocket. 
 Mark the placement for your buttons (12 total), starting 1" from either side and working into the center, marking every 7". I laid my measuring tape down the center of the top hem and marked on either side of it (see below).

If your fabric wasn't measured/cut/sewn perfectly, you may not meet in the middle at exactly 7" increments. I know this because mine didn't meet up just right... But it's OK - no one will ever know once it's hung up. I promise.


Before you start laying down buttonholes, grab that manual (or buttonhole foot instructions) and follow it step by step. I still do this every time I sew buttonholes...


And practice a few times on the same kind/thickness of fabric to make sure your buttonhole looks just right.
(use your old shower curtain as a guide for buttonhole size)


Hopefully, you'll have something that looks like this.


Now trim all those threads and hang it on your shower!
And if you're anything like me, it will make you happy every time you walk past it.


If you use this tutorial I'd love to see your creation! 
Feel free to post it to the Handmade Mommy Tutorials Flickr Pool.
Pin It

Monday, July 26, 2010

Hello, Neighbor


{how cute are those little houses from our retro Monopoly set?}

I'm pretty convinced that we have the best neighbors on the planet. There will be other houses, I'm sure. Other jobs. Other places. But we will never have this community again. Our neighbors love my kids, they look out for us, they come over for dinner and have us to their house, they loan us tools and DVDs, they drink wine with us, they laugh with us. And these great neighbors aren't all under one roof. Oh, no sir. We've got at least 4 front doors my kids can go bang on when they want to show off the new slip & slide in the front yard.

And I've been thinking about how wonderful it is to have people right here who I have never sent a single text to. I rarely email any of them. And if I have a question or someone needs sugar, we just knock on the door. Real people right in my own front yard who care about us, and us about them.

My husband was traveling for work last year and a neighbor came over to help out with dinner/bath/bed/the whole nine yards. As I'm serving dinner, I apologized for the state of my kitchen (perpetually cluttered even though it drives me mad) and she just said, "All I see is affection here." She could not have spoken words more comforting to me.

The other day, one of our Super Neighbors came over to tell me that another neighbor got some crazy deal on frozen pizzas and wanted to just give us 5 of them because she thought the boys might like them and she knows that I stay home (1 income, 4 bodies, simple math). As I'm putting the boys' shoes on to walk down the street, I apologize for the disaster that my house is (notice a theme here?). Right away, she says, "I came here to see you, not your house." See what I mean?

I've just been mulling this over and feeling very warm & fuzzy about it. Wouldn't it be nice if we treated people thoughtfully? If we all knew our neighbors? If we took care of each other a little more? Made the phone call instead of the text? Took a few of those treats you baked and give them to someone with a little handscribbled card?

Since you like hanging out here, you probably already do these things, no reminding or prompting needed. But I do like a good ramble every now and then, and this just seemed like the kind of thing I should put out there.
Pin It

Friday, July 23, 2010

Weekend Reading

Sometimes, I'm a very organized blogger...other times, not so much.
About a month ago, Jason over at Meylah (the nice folks who have a TON of great info for creative entrepreneurs and they also happened to interview me) emailed me about a new FREE ebook series they've started and I completely forgot to post it.
No matter how you spin it, that's just embarrassing.
{hangs head in shame}

This first ebook in the series is “Getting Started with Social Media” and you can download it here.
They give you all sorts of tips and even step-by-step instructions for Facebook, Twitter, and Flickr. Really helpful stuff.
To receive the other ebooks in the series, you just have to subscribe by email here.
 So take a few minutes to read it now or load it onto your digital reader and enjoy it outside on this beautiful weekend.

Recap...
Information about the ebook series is here
The link to download is here
Subscribe by email here
Enjoy and have a great weekend!

{Oh, and I promise they're not bribing me in any way to pass this on. I must admit I always wonder these things myself. Meylah just seems like a bunch of nice folks with great tips that I thought others might find useful.}
Pin It

Wednesday, July 21, 2010

Your First Quilt

Thanks to Chris over at Pickup Some Creativity for asking me to be a part of her Sewing 101 Series
I've got the Basics of Quilting to get you started on your first quilt. 

You'll need: 
-about a yard and a half total of prewashed/ironed cotton fabric (this will leave you plenty of extra)
-a piece of batting or flannel measuring roughly 30" x 20" 
-basting spray
-disappearing ink fabric marker
-optional: rotary cutter, mat & quilting ruler

Cut 5 strips of fabric, each measuring 18" x 6".
You can cut across the width or along the length but not on the bias (diagonally) as it will stretch too much.

Pin the strips right sides together on the long sides, in the order you want them.

Sew together using a 1/4" seam allowance.
{If you want to make more than one quilt in your sewing lifetime, definitely invest in a good walking foot}
Press your seams to one side, toward the darker fabric like below.

Now cut your middle layer (batting or flannel) a little bigger than your quilt top.
Cut your bottom layer (the quilt back) to match the batting.

All three layers stacked together make your "quilt sandwich."
Now you'll baste (read: stick together) your sandwich to keep the layers in place for sewing. Some people pin baste beautifully but I use basting spray - quilting magic in a can. It's quick and easy on my hands. This is how I do mine, but written better.

First, stitch in the ditch like so in the 4 seams joining your strips.

Then mark and sew some more random lines to stabilize the three layers.

Here are a couple ways I like to hold the quilt while it's on the machine.
Just don't tug too hard or you'll break a needle.


Oh, and the goofy gloves I'm wearing are quilting gloves and they are awesome.
The fingertips are coated with rubber to help you grip the fabric. I use them on a lot of my projects, not just quilts.

 Wondering how to wrangle a quilt through your machine?
Just roll up one side to fit it in the machine and adjust as you go.

Trim your excess batting and backing.


It's time to do your binding (to encase the raw edges). Don't be scared! You can either buy premade binding or make your own. I like to make my own using this amazing tutorial. And this tutorial is great for attaching your binding to the quilt.

Here are the basics...
what double fold bias binding looks like

attached to the front of your quilt

folded over the raw edge and pinned to the back
 
You can either handstitch or machine stitch it down, but I prefer handstitching with this coated cotton thread.

Finished binding

Now you get to wash and dry it!
My dryer always seems soooo slow when there's a new quilt in there...
Have you ever wondered why quilters get all gaga over a freshly washed quilt?

Before

After

Your quilt would make a great gift as a wall hanging; customize it to a nursery color scheme or someone's interests and give it with a couple of hanging clips.
And it's easy to change the design, add an applique, embroider a name, learn to piece blocks, etc. etc.

I hope you enjoyed my very very long tutorial...
Good luck with your first quilt! I'd love to see what you make in the 
Handmade Mommy Tutorials Flickr Pool.
Pin It

Monday, July 19, 2010

Camping Out


This weekend we went camping with a bunch of friends.
Official tally: 16 kids, 18 adults
And it was a blast! 
My husband and I are already talking about another trip to the same campground in the fall.

There was a little kicking back.


A little splashing about.

  
A lot of stomping around in the dirt.
What else do two little boys need? Really?


There was a wildfire in this part of San Diego a few years back and you see the evidence of it everywhere. 
Even the log I stood on with the boys was black on the left side and untouched on the right.

We were together, happy and worn out.
Even Duke the dog was spent (and very very happy).


I hope your summer is full of family, friends and hanging out.
Go enjoy the sunshine and get a little dirty!

Pin It

Wednesday, July 14, 2010

petit bon appetit

This post is less check-out-my-project and more you-should-put-this-tutorial-on-your-list...geez, that's wordy. Oh well, you know what I mean.
The pictures were taken in a blur before running out the door to the birthday bash, but I had to share the project so you can make it yourself!

My son's friend just turned 4 and I made him a little chef dress-up set. I used two tutorials from ikat bag
For the chef's hat, I used this one (it's adjustable with velcro!).


I was just winging it for the apron, which wraps all the way around to tie in the front.
And I used this tutorial for the oven mitt (but I cheated by using pre-quilted fabric...).


I added an initial applique, of course (using Michael Miller Dick and Jane fabric).


The best part? His mom told me that he wore the apron & hat ALL day until bedtime. The oven mitt was a hot commodity as well, resulting in fights between him and his younger brother over who got to wear it. Usually, I'm a big fan of harmony in the house but when the discord stems from my handmade creation...I admit it made my day.
Pin It

Tuesday, July 6, 2010

Zipper Anxiety


I don't know about you, but zippers freak me out. 
Not in a waking-up-in-cold-sweats kind of way, but an I-avoid-them-at-all-costs kind of way. 
If you have the same strange malady, I have good news for you:
I overcame my crippling zipper anxiety to make my sister a birthday gift!


And I have to thank Anna for that. The girl can whip up zippered creations like nobody's business and I used her fabulous Lil Cutie Pouches tutorial to make these zippered bags.
I totally recommend this tutorial if you want to learn zippers!
The small one is the same size as the tutorial dimensions and then I cut larger pieces of fabric and used a bigger zipper for the big bag.


I had a little bunching of the lining fabric when I sewed the zipper on. Hmmm...must need more practice.

They got little love labels, of course. 
And I really like the white zipper on one and blue zipper on the other.


I used the same fabric (Natural Effect by Michele D'Amore for Marcus Fabrics) way back when on this diaper bag and still love it just as much. 
Thankfully I bought a bunch and can crank out a couple more projects with it.
Pin It

More Handmade Goodness

Related Posts with Thumbnails